
Complete Site Preparation Guide for Commercial Espresso Machine Installation
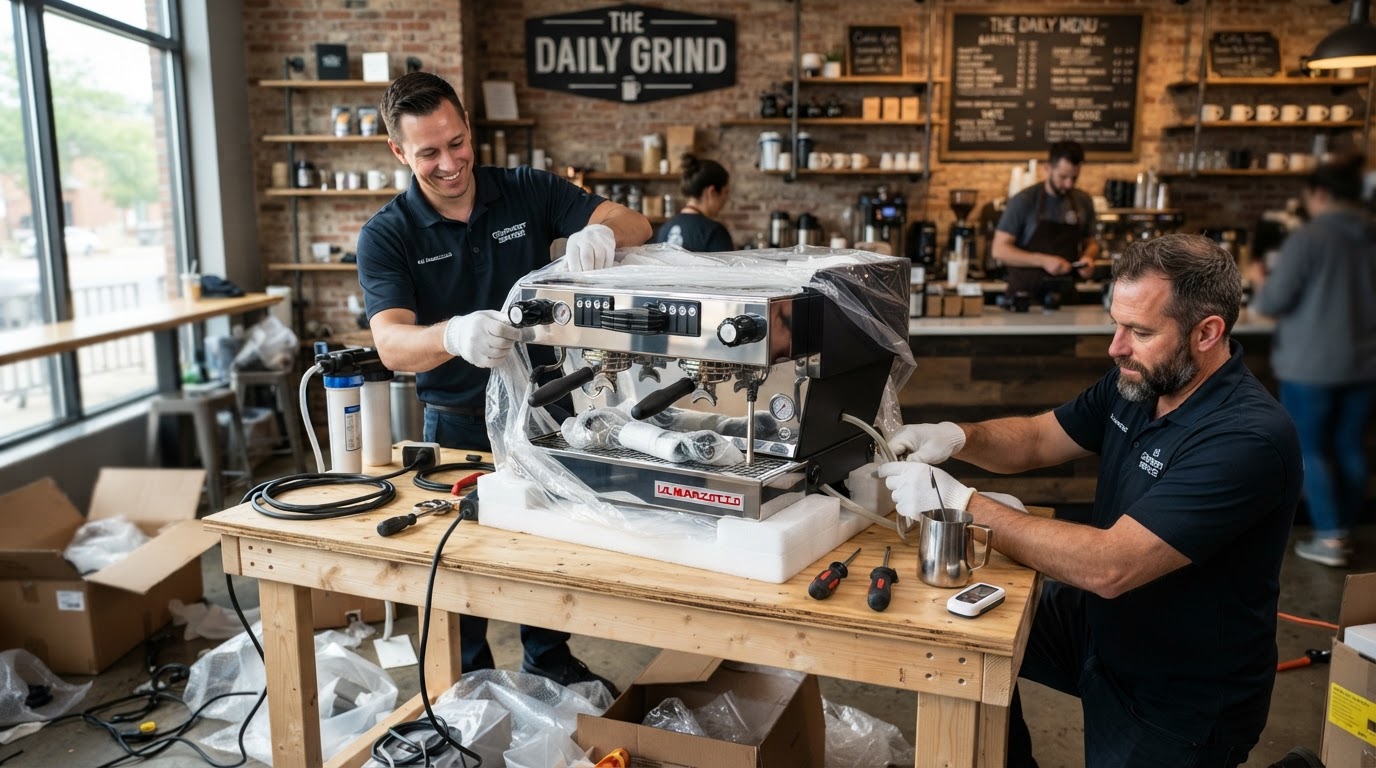
Proper site preparation is the difference between a smooth, one-day espresso machine installation and a multi-day delay caused by missing utilities or inadequate infrastructure. This comprehensive guide covers every aspect of site preparation, from electrical and plumbing requirements to physical space, ventilation, and logistical considerations. Following this checklist before your machine arrives ensures the installation day goes smoothly and your machine starts producing great coffee immediately.
Electrical Requirements: Commercial espresso machines have specific electrical requirements that must be met exactly. Most two-group and three-group commercial machines require single-phase 208V or 240V power at 20A to 50A on a dedicated circuit. Some large machines require three-phase power. Check the machine's data plate for the exact voltage, amperage, phase, and receptacle type. Have a licensed electrician install a dedicated circuit with the correct specifications and a compatible receptacle. The circuit must be dedicated, meaning no other equipment shares it. Install a dedicated breaker and label it clearly. Do not use extension cords or adapters; the machine must plug directly into the correctly rated receptacle.
Water Supply Requirements: The machine needs a dedicated cold water supply line with a shutoff valve within a few feet of the installation location. The supply line should be 3/8 inch minimum, with a dedicated shutoff valve (not a self-piercing saddle valve) so the machine can be isolated for service. Incoming water pressure should be between 20 and 80 psi; if your building pressure is higher, install a pressure regulator. The water must be filtered and, if necessary, softened before reaching the machine. Install the water treatment system upstream of the shutoff valve so both the filter and the machine can be isolated. Flush the filter system thoroughly before connecting the machine to remove carbon fines and manufacturing residues.
Drain Requirements: The machine needs a drain connection for wastewater from the drip tray and, on some models, from the brew group rinse or backflush cycle. The drain must be an indirect connection with an air gap, meaning the drain hose empties into a floor drain or drain box with a visible air gap between the hose end and the drain grate. This prevents sewer backflow from contaminating the machine and is required by most plumbing codes. The drain line must have a continuous downward slope with no sags or traps that could hold water. The drain must be within 5 feet of the machine, and the drain hose must reach it without stretching or kinking. If no floor drain is available, install a drain box or condensate pump.
Physical Space & Counter Requirements: The counter must support the machine's weight, which can exceed 150 pounds for a three-group machine. Verify the counter material, thickness, and support structure can handle both the static weight and the vibration from the pump. Granite and solid surface counters are generally adequate; thin laminate over particleboard may flex or fail under the load. Measure the machine's footprint (width, depth, and height) and verify the counter has adequate space with room for the portafilter to extend forward and for cups to be placed under the group heads. Allow at least 12 inches of clearance above the machine for service access; the technician must be able to remove the top panel for internal service.
Clearance & Access: In addition to overhead clearance, ensure adequate side and rear clearance. The machine needs space behind it for the water supply, drain, and electrical connections. If the machine is pushed against a wall, the connections may be difficult to access for service. Leave at least 6 inches behind the machine if possible. Side clearance is needed for cup warmer shelves, service panels, and the barista's working space. Ensure the machine is not placed under upper cabinetry that would prevent the top panel from being removed. If the machine is in a corner, verify that the barista can comfortably operate all group heads and the steam wand without obstruction.
Ventilation & Heat Management: Commercial espresso machines generate significant heat. Ensure the installation area is well-ventilated to prevent heat buildup that affects both the equipment and the staff. The machine's cooling fans draw air from the rear and exhaust it upward or to the side; do not block these airflow paths. If the machine is in an enclosed alcove, verify that the ambient temperature will not exceed the manufacturer's specified operating range (typically 32 to 38°C / 90 to 100°F). In hot climates, consider auxiliary ventilation or air conditioning for the espresso bar area. Excessive ambient heat shortens component life and can cause the machine to shut down on thermal protection.
Logistical Considerations: Plan the delivery route from the loading dock or street to the installation location. Commercial machines are heavy and bulky; verify that doorways, hallways, and elevators along the route can accommodate the machine's dimensions and weight. If stairs are involved, ensure the delivery team has the equipment and personnel to move the machine safely. Schedule delivery and installation for a time when the café can be closed or the area can be cleared of customers and staff. Coordinate with your electrician, plumber, and installer so all utilities are ready before the machine arrives. A well-coordinated installation minimizes downtime and ensures the machine is operational on the planned day.